How to Handle a Roof Inspection for an Insurance Claim
@insuranceroofinspectionpress
November 9, 2026 · 8 min read
When your home takes damage from a storm or hail, getting the roof looked at is often the first step. But a roof inspection for insurance purposes is not the same as a routine check. It has a different goal, a different audience, and a different timeline. Understanding what that process involves can save you time and help you get a fair outcome.
Most homeowners do not think about their roof until something goes wrong. That is understandable. Roofs are built to be forgotten. They sit there year after year, shedding rain and snow, reflecting the summer sun. But when a hailstorm rolls through or a tree branch scrapes across the shingles, that quiet reliability can end fast. Suddenly the roof is leaking, or the gutters are full of granules, or the flashing around the chimney has pulled loose. That is when the phone calls start: to a roofer, to an insurance adjuster, to anyone who can help.
What makes an insurance roof inspection different
A standard roof inspection looks at the overall condition of the roof. A roofer might check for loose shingles, worn flashings, signs of moss or rot, and the age of the materials. That kind of inspection helps you plan for maintenance or estimate how long you have before a replacement is needed. It is about prevention.
An insurance roof inspection, on the other hand, is about damage that has already happened. The adjuster or the roofing company is looking for evidence of a specific event: the hail that dented the metal vents, the wind that lifted the ridge cap, the rain that got under the underlayment. The goal is to document what is wrong, determine whether the damage qualifies for coverage, and estimate the cost to put things right. The timeline is tighter, and the paperwork matters more.
That distinction matters because the two inspections can reach different conclusions. A roofer might see granule loss on the shingles and recommend a new roof in a few years. An insurance adjuster might look at the same granule loss and see normal wear. The difference comes down to what caused the damage and when it happened.

What the insurance company wants to see
Insurance companies rely on evidence. They want clear photos, a written report, and a cause that falls within the policy. That is why the inspection process often starts with the homeowner filing a claim. The adjuster then schedules a visit, or the insurance company sends a third-party inspector. In many cases, the homeowner can also request that a roofing contractor be present during the inspection. That can help, because the contractor knows roofs and can point out damage the adjuster might miss.
During the inspection, the adjuster will typically check:
- the condition of the shingles or tiles, looking for cracks, dents, or missing pieces
- the flashings and seals around vents, chimneys, and skylights
- the gutters and downspouts for signs of impact or granule buildup
- the underlayment or decking where visible, such as in an attic or crawl space
The inspector will also take measurements and photographs. If the damage is not obvious from the ground, they may get on the roof. That is not always necessary, but it helps when the damage is subtle, like small hail dents that only show up in certain light.
How to prepare for the inspection
Preparation can make a real difference in how smoothly the process goes. Start by reviewing your insurance policy. Know what your deductible is and what kinds of damage are covered. Hail damage is usually covered under standard homeowners policies, but wind damage and storm restoration may have different rules. If you are unsure, call your agent before the inspector arrives.
Next, do a quick walk around the house. Look for visible damage: loose shingles, dented gutters, torn flashing, or water stains on the ceiling. Take your own photos. Document the date and time. That gives you a record in case the adjuster misses something or disagrees with your assessment. It also helps you ask better questions when the inspector gives their report.
If you have had previous roof work done, dig up the receipts or permits. That shows the age of the roof and any repairs. A roof that was installed three years ago is more likely to have storm damage than a roof that is twenty years old. The adjuster will consider the roof age and the condition of the materials when deciding what to cover.
The role of the roofing contractor
Many homeowners hire a roofing contractor to be present during the insurance roof inspection. That is a practical move. The contractor can point out damage that is not obvious, explain why certain materials failed, and provide a separate estimate for repairs. That estimate is not binding, but it gives you a benchmark. If the insurance company offers a payout that is far below the contractor's quote, you have a reason to push back.
The contractor can also perform a leak detection test if there is a suspicion of hidden damage. That involves running water over a section of the roof while someone checks the attic for drips. It is a simple method, but it can reveal problems that a visual inspection would miss. Not every contractor offers that service, and not every insurance company will accept the results, but it can be worth asking about.
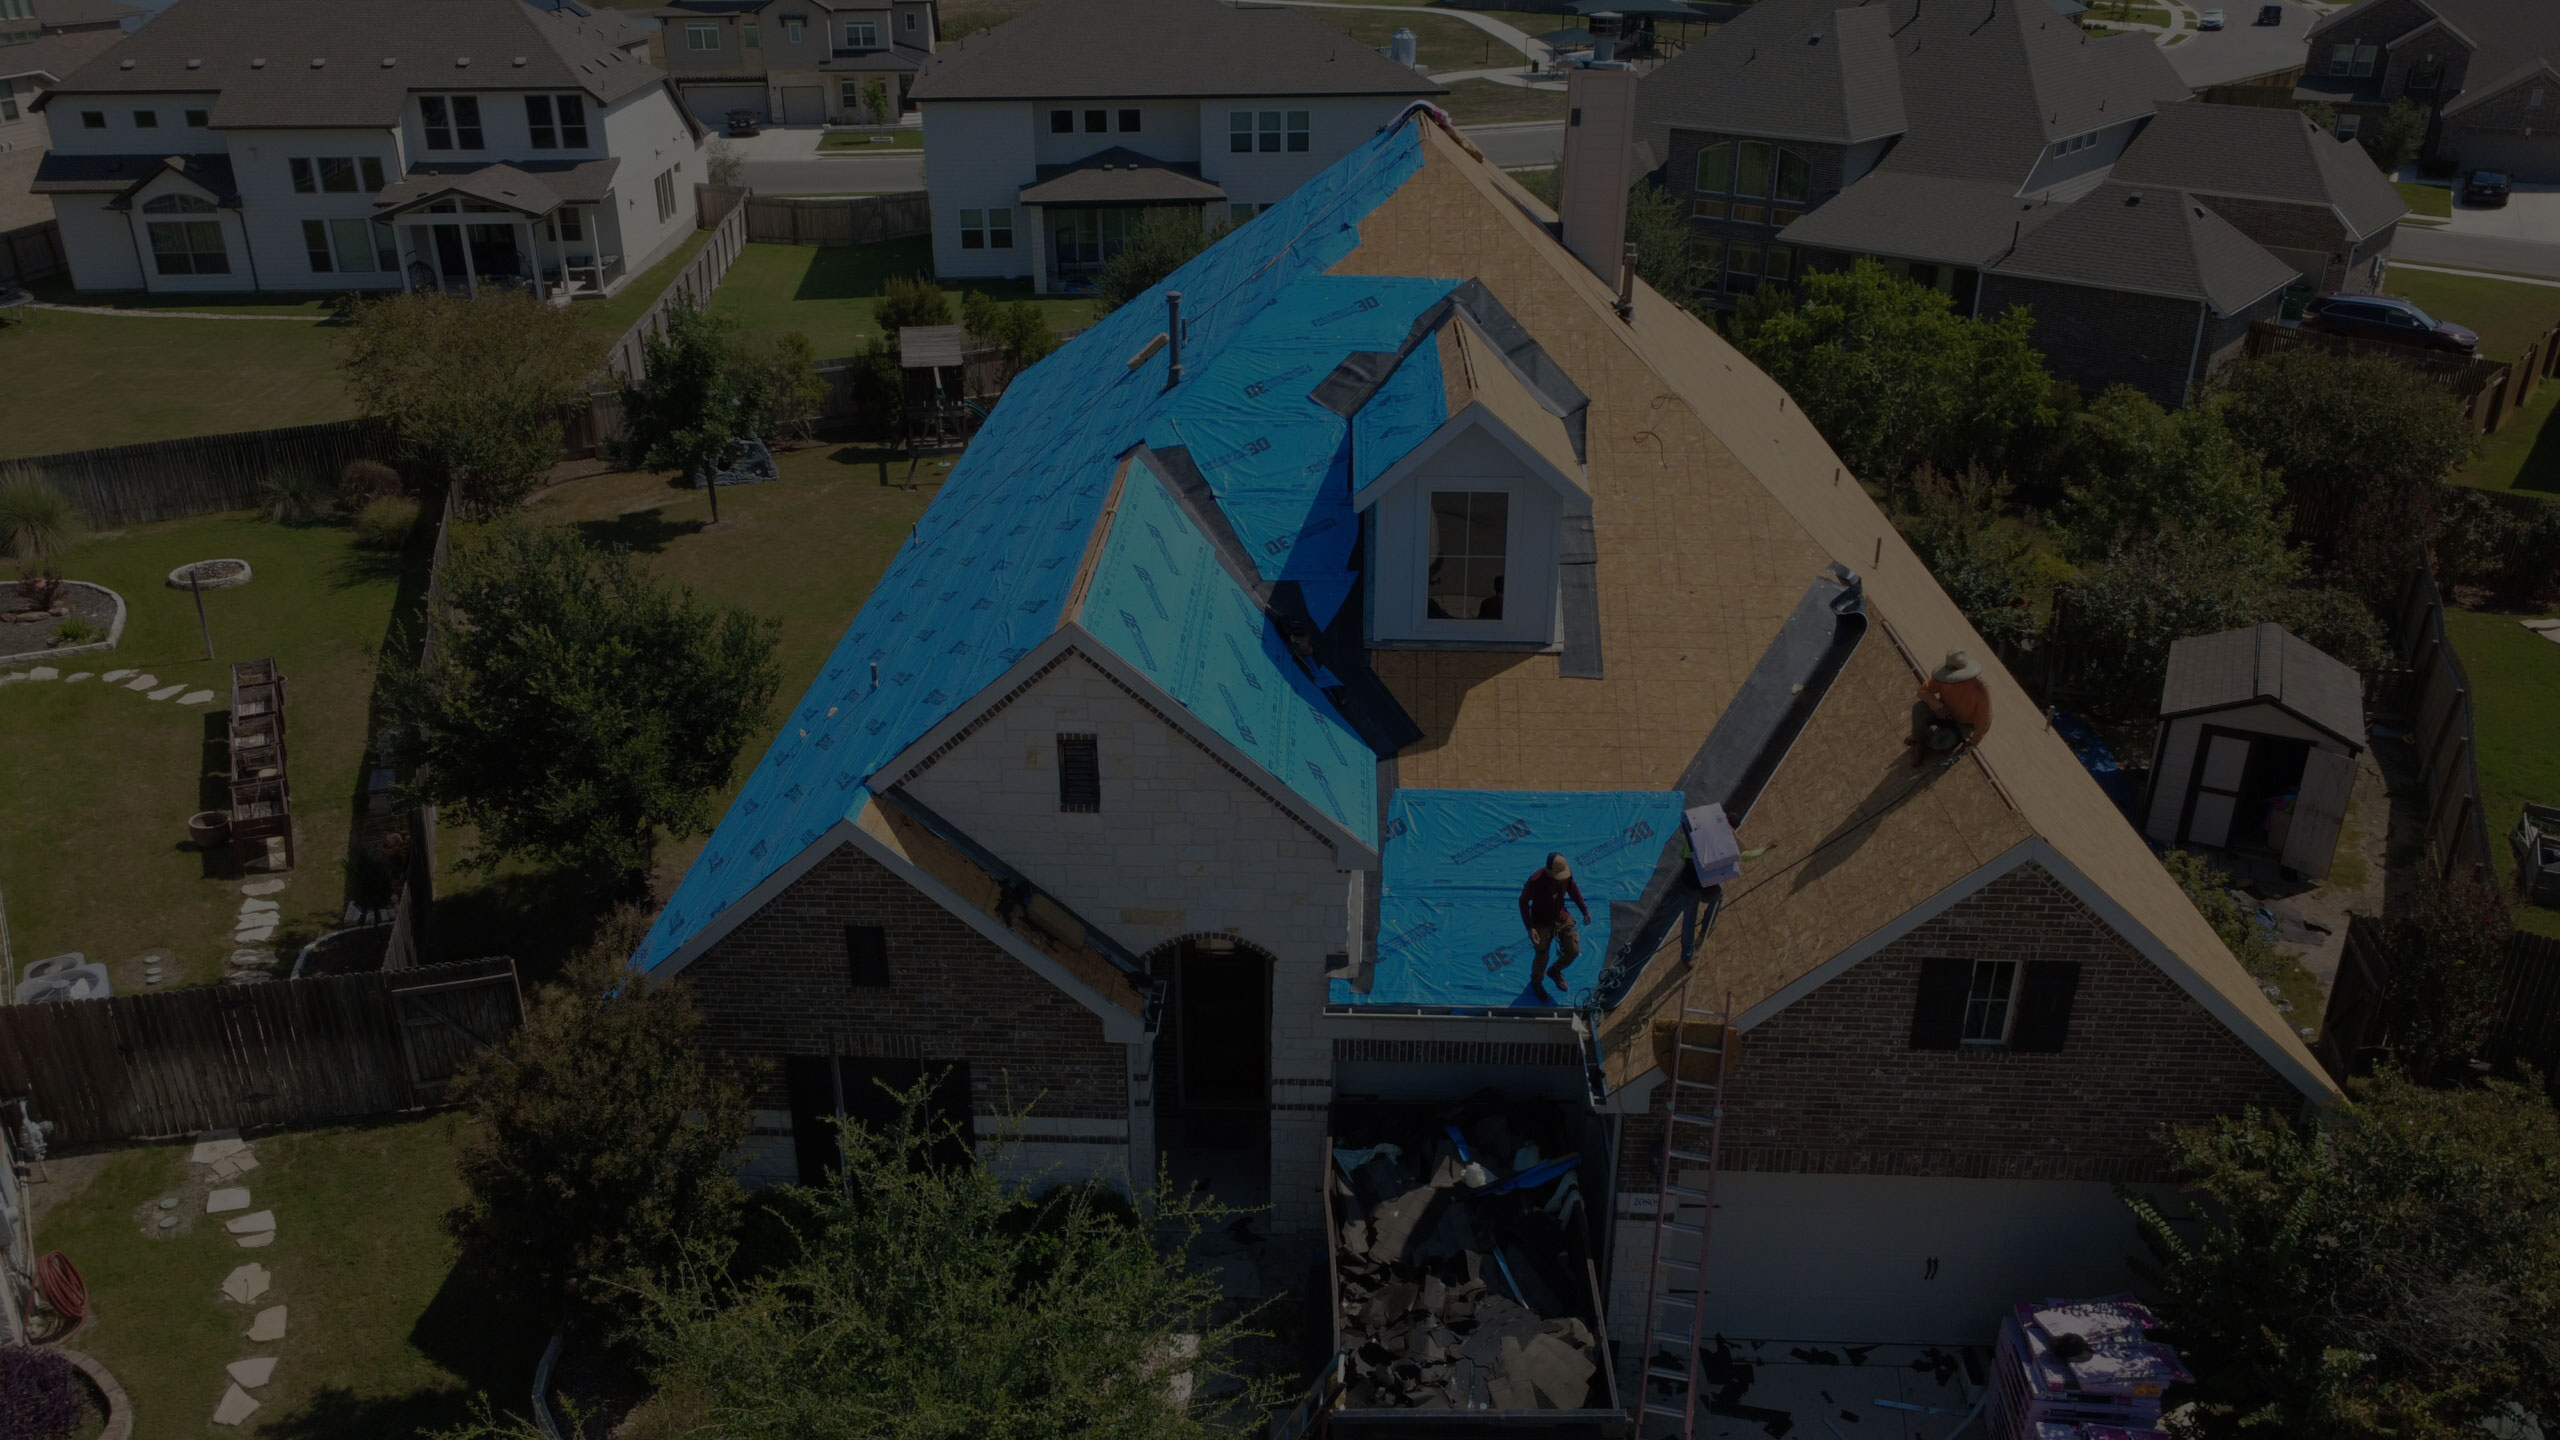
One thing to keep in mind: the contractor works for you, not the insurance company. Their job is to help you get a fair settlement. That does not mean they will inflate the damage or claim things that are not there. A good roofer gives an honest assessment. But they are on your side of the table.
The insurance claim process after the inspection
Once the inspection is done, the adjuster writes a report. That report goes to the insurance company, along with the photos and any other documentation. The company then decides what to cover and how much to pay. That decision can take a few days or a few weeks, depending on the volume of claims after a storm.
If the claim is approved, the insurance company will issue a payment, often minus the deductible. The payment may be split into two parts: one for the actual cash value of the damage, and one for the recoverable depreciation. The depreciation is paid out after the repairs are completed and the company receives proof of work. That is a common setup, and it is worth understanding before you start the repair.
If the claim is denied or the payout seems low, you have options. You can ask for a reinspection, submit your own photos and contractor estimates, or file an appeal. Some homeowners also hire a public adjuster, who represents the homeowner in the claim process. That adds a cost, but it can make sense for large or complex claims.
Common pitfalls to avoid
One mistake is waiting too long to file a claim. Insurance policies have time limits for reporting damage, and the longer you wait, the harder it is to prove that the damage came from a specific storm. Another is assuming that all damage will be covered. Policies have exclusions. Wear and tear, lack of maintenance, and pre-existing conditions are usually not covered. That is why the inspection matters: it separates covered damage from everything else.
Another pitfall is not getting a second opinion. The adjuster's report is one view. A roofing contractor's report is another. If they disagree, that is a signal to dig deeper. You can ask the contractor to walk through their findings with the adjuster, or you can request a joint inspection. Most roofers are willing to do that, and adjusters often appreciate the cooperation.
Finally, do not sign a repair contract before the insurance company has approved the claim. That can create problems if the payout does not cover the full cost. It can also complicate the claim process if the work changes the condition of the roof before the adjuster has a chance to see it.
Moving forward with repairs
Once the claim is settled, the real work begins. Storm restoration can range from a simple shingle replacement to a full roof tear-off. The scope depends on the damage and the age of the roof. A roof that is near the end of its life may need a full replacement even if the damage is limited. That is something the inspection should have caught, but it is worth confirming before the contractor starts.

Choose a contractor who understands the insurance process. They should be able to work with the adjuster, submit the right paperwork, and complete the work to code. They should also be willing to explain what they are doing and why. A good roofer treats the job as a partnership, not a transaction.
After the work is done, keep the records. Save the photos, the inspection report, the insurance correspondence, and the contractor's invoice. That documentation will help if you ever file another claim or sell the house. It also gives you a clear picture of the roof's history, which is useful for planning future maintenance.
A roof inspection after a storm does not have to be stressful. It is a step in a process, and like any process, it works better when you know what to expect. The key is to be prepared, ask questions, and work with people who know what they are looking at. That includes the adjuster, the contractor, and anyone else involved. The more you understand, the smoother the whole thing goes.